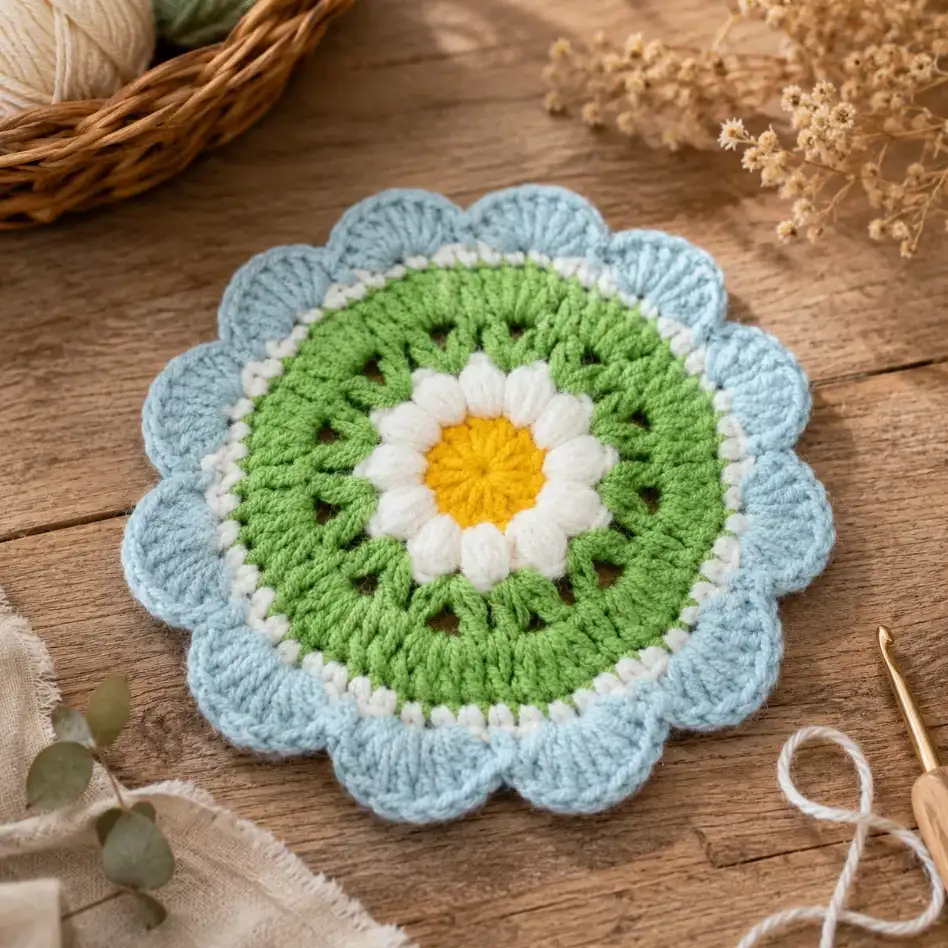
Adorable Daisy Flower Coaster Crochet Pattern Your Coffee Table Desperately Needs
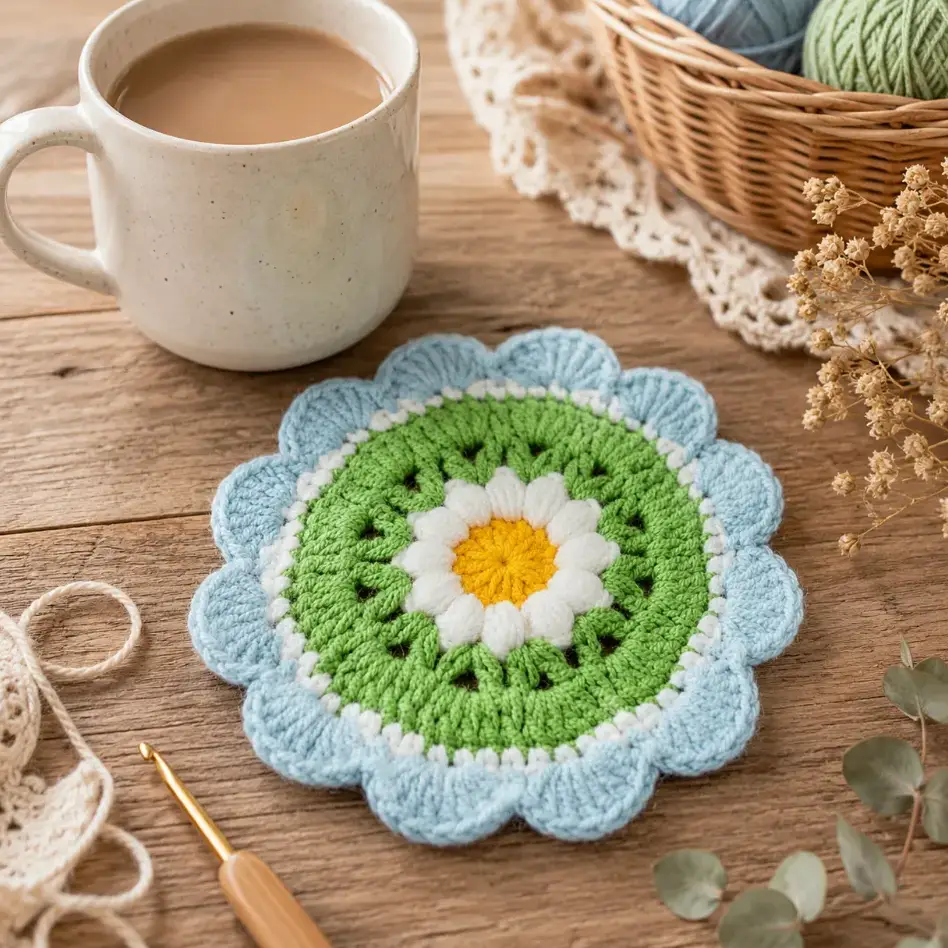
The Daisy Flower Coaster Crochet Pattern transforms colorful yarn into a charming floral accent your coffee table is begging for. Whether you’re a complete beginner or returning to your hooks after years, this simple design delivers big personality in just a few hours.
Quick Info
Why You’ll Love This Pattern
- Perfect for beginners learning fundamental crochet stitches and techniques.
- Whip up an easy daisy coaster crochet pattern in one sitting.
- Make thoughtful handmade gifts friends and family will treasure forever.
- This flower coaster crochet free pattern requires minimal yarn investment.
Materials Needed
- Crochet Hook: H/8 (5mm) size.
- Yarn: Worsted weight, five contrasting colors.
- Scissors: For cutting yarn ends cleanly.
- Tapestry Needle: For weaving in loose ends.
- Stitch Markers: Optional, helps track rounds.
Pattern Notes & Abbreviations
- MR = magic ring
- ch = chain
- dc = double crochet
- hdc = half double crochet
- sc = single crochet
- st = stitch
- rnd = round
Work in joined rounds. Change colors as indicated per pattern row instructions.
Want to keep crocheting? Our Easy Crochet daisy Coaster Pattern is a great next project to try.
Gauge & Sizing
Exact gauge isn’t critical for this small flower crochet coaster tutorial since coasters are forgiving. However, consistent tension ensures your daisy coasters maintain even, beautiful proportions. One coaster measures approximately 4–5 inches square – perfect for mugs and glasses.
The Adorable Daisy Flower Coaster Your Coffee Table Desperately Needs Pattern
R1: MR, ch 2, 12 dc in MR.
What to do
1. Make a Magic Ring (MR).
2. Chain 2 (this counts as your turning chain).
3. Insert your hook into the center of the Magic Ring.
4. Yarn over.
5. Pull up a loop. (You now have 3 loops on your hook.)
6. Yarn over and pull through the first 2 loops.
7. Yarn over and pull through the remaining 2 loops.
You have made 1 double crochet (dc).
Continue making 12 dc into the Magic Ring.
When finished
• Pull the yarn tail tightly to close the center hole.
• Join to the first dc with a slip stitch if your pattern is worked in joined rounds.
✅ Stitch count: 12 dc
Beginner Tip
Spread the stitches evenly around the Magic Ring before tightening it.
R2: Change color, ch 2, (4 unfinished hdc in the same stitch, yarn over and pull through all loops to complete 1 puff stitch, ch 2), repeat in each stitch around.
What to do
Change to your new yarn color.
Chain 2.
Now work into the first stitch.
Making one Puff Stitch
In the same stitch, repeat the following 4 times, but do not finish the hdc.
Each unfinished hdc
• Yarn over.
• Insert hook into the stitch.
• Pull up a loop.
• Yarn over.
• Pull through the first 3 loops ONLY.
• Stop.
Leave the last loop on your hook.
Repeat until you have made 4 unfinished hdc in the same stitch.
Now:
• Yarn over once.
• Pull through every loop on your hook.
This closes the puff stitch.
Chain 2.
Move to the next stitch.
Repeat:
• Puff Stitch
• Chain 2
Continue around the entire circle.
Beginner Tip
Don’t pull your loops too tightly. Loose loops make puff stitches much easier.
R3: Change color, (dc, ch 2, dc) in each ch-2 space, repeat around.
What to do
Change to your next yarn color.
Find the first chain-2 space from the previous round.
Inside that space work:
1. 1 dc
2. Chain 2
3. 1 dc
Everything goes into the same chain space.
Move to the next chain-2 space.
Repeat:
• dc
• ch 2
• dc
Continue around until every chain space has been worked.
Beginner Tip
Do not crochet into the puff stitches.
Always work inside the chain spaces.
R4: 1 dc between each pair of adjacent dc from the previous round, 4 dc in each ch-2 space, repeat around.
What to do
You will now work in two different places.
First
Between two neighboring double crochet stitches,
work
1 dc
Do not work into the top of the stitch.
Instead, insert your hook into the space between the two dc stitches.
Next
Find the chain-2 space.
Inside that space crochet
• dc
• dc
• dc
• dc
(4 dc total.)
Repeat this pattern around.
• 1 dc between the two dc
• 4 dc in the chain-2 space
Continue until you reach the end.
Beginner Tip
The spaces between stitches are often easier to find than the tops of the stitches.
R5: Change color, sc around.
What to do
Change yarn color.
Work
1 single crochet in every stitch
around the entire coaster.
There are:
• no increases
• no decreases
Simply place one sc into each stitch.
Continue until you return to the beginning.
Beginner Tip
This round creates a clean border and prepares the coaster for the decorative edge.
Once you finish this one, our Quick Flower Crochet Coaster Pattern will be perfect for your next crochet session.
R6: Change color, sc, skip 1 st, (4 dc), (4 dc), skip 1 st, sc, repeat around.
What to do
Change to your final yarn color.
Work the following sequence.
Step 1
Make
1 sc
Step 2
Skip the next stitch.
Do not crochet into it.
Step 3
In the next stitch,
make
• dc
• dc
• dc
• dc
(4 dc in the same stitch.)
Step 4
In the following stitch,
again make
• dc
• dc
• dc
• dc
(4 dc in the same stitch.)
These two groups form one rounded scallop (petal).
Step 5
Skip the next stitch.
Step 6
Work
1 sc
in the following stitch.
Repeat the entire sequence around.
sc
↓
skip 1 stitch
↓
4 dc
↓
4 dc
↓
skip 1 stitch
↓
sc
Repeat until the coaster is complete.
Beginner Tip
The 8 dc (4 + 4) create each large blue scallop around the edge. Don’t worry if they curl slightly while crocheting – they will flatten out after the round is finished or after blocking.
Tips & Troubleshooting
Yarn Swap
Don’t have the exact yarn? Any worsted-weight yarn works beautifully. Test your gauge first – different fibers crochet at slightly different densities, so a quick swatch prevents sizing surprises.
Common Mistake to Avoid
Pulling your yarn too tightly creates puckered petals and a stiff coaster. Keep tension relaxed and even throughout, especially on the flower rounds.
Finishing Like a Pro
Weave in ends before blocking. Block your coaster flat under a damp towel for crisp edges and even shape that looks polished and intentional.
What to Make With This Pattern
Once you’ve mastered one coaster, the possibilities bloom endless.
- Make a matching set of six for a thoughtful housewarming gift that protects and delights.
- Stitch them in seasonal colors to refresh a friend’s coffee table throughout the year.
- Combine multiple daisies into a larger blanket or table runner for a coordinated home accent.
Frequently Asked Questions
Is this pattern good for beginners?
Absolutely. This pattern uses only single and double crochet—the two most fundamental stitches. If you can work in rounds and change colors, you’re ready to create these adorable flowers.
What if I want to use a different yarn weight?
You can substitute bulky or DK yarn, but your coaster size will change accordingly. Always crochet a gauge swatch first to predict finished dimensions before committing to your whole project.
How long does one coaster actually take to make?
Most crocheters finish a single daisy coaster in two to three hours, depending on experience level. The final blocking and weaving takes an extra thirty minutes, so plan accordingly for gifts.
Can I modify this pattern for larger gifts or different colors?
Definitely. Add extra rounds to scale up, or work the petals in ombré shades for depth. This pattern is endlessly customizable—make it yours and adapt freely for any skill level or aesthetic.
Save this free Daisy Flower Coaster Crochet Pattern to your Pinterest crochet board so you can find it anytime. Thousands of crocheters have already pinned it!
📌 Save to PinterestFinal Thoughts
You’ve got this. Creating a handmade coaster might feel small, but it’s a gift of time, care, and creativity. Will you make these daisies in your favorite color or gift them to someone special?