Crochet Kindle Sleeve Pattern for Beginners (So Easy!)
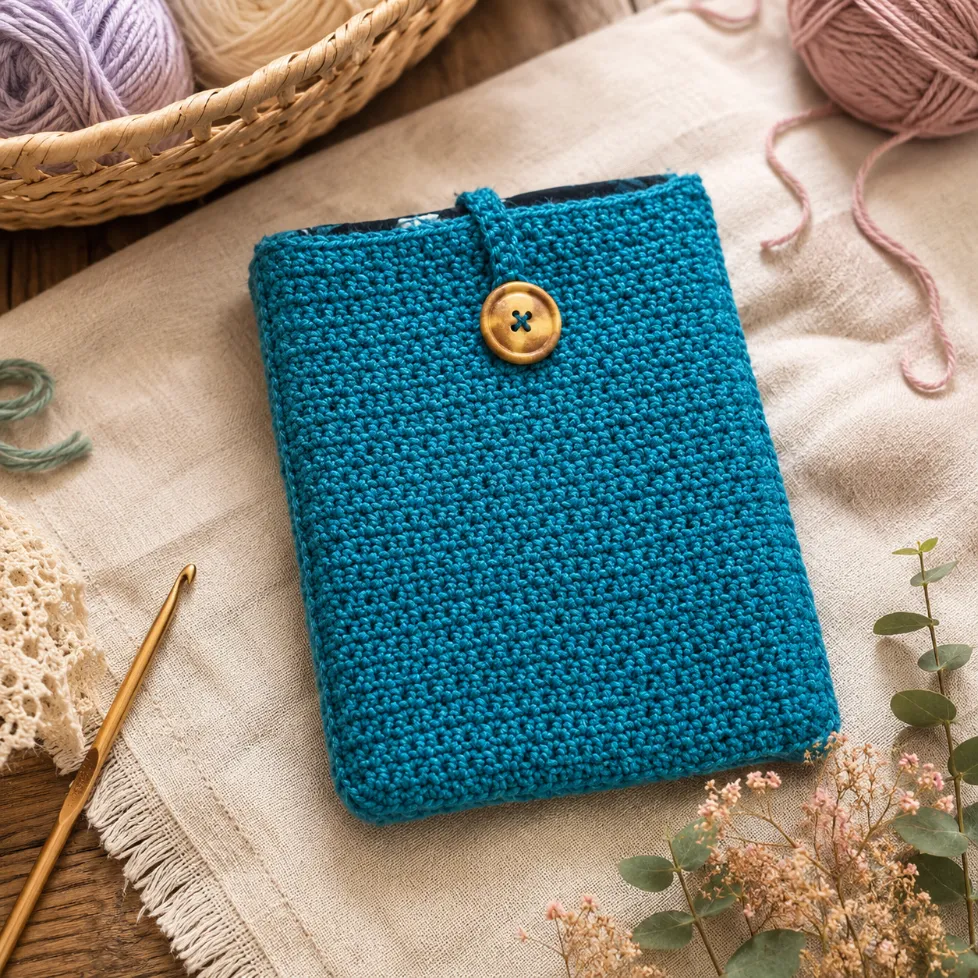
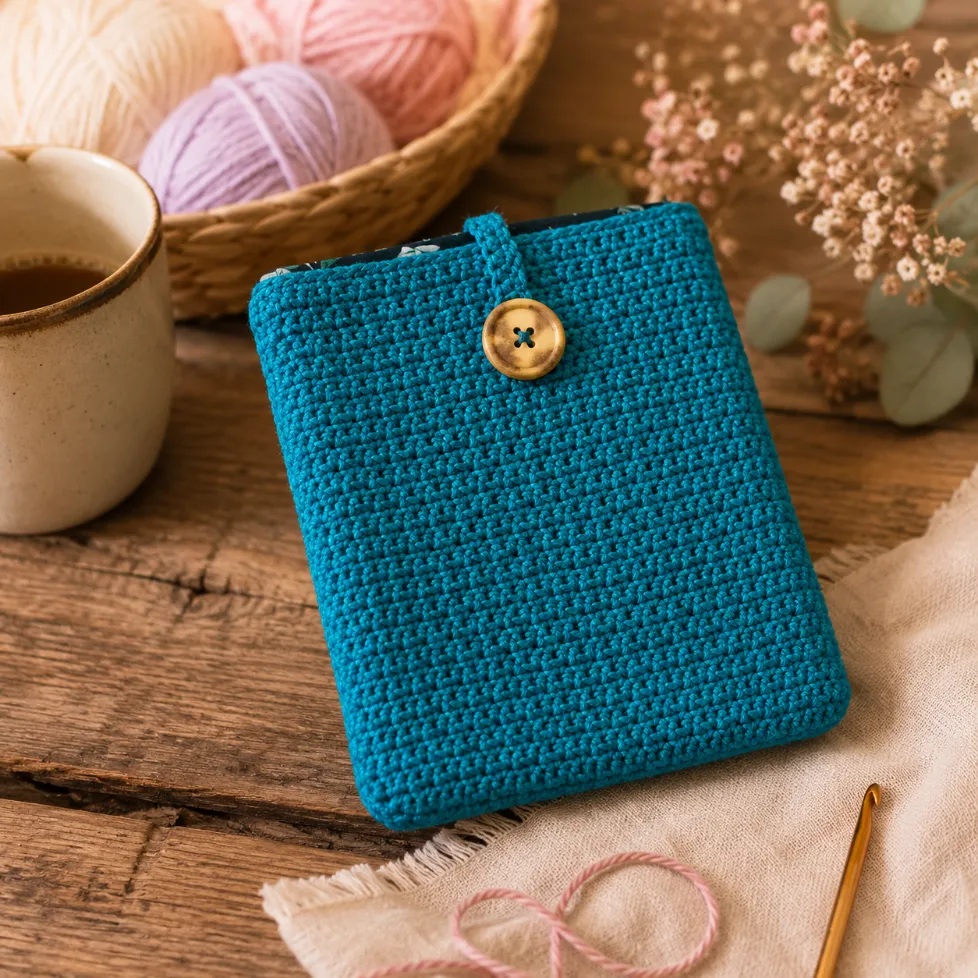
A Crochet Kindle Sleeve Pattern is the perfect beginner project to protect your favorite e-reader in style. There’s something magical about picking up a crochet hook and watching yarn transform into something beautiful – stitch by stitch.
Quick Info
Why You’ll Love This Pattern
- Uses only basic stitches perfect for beginners learning crochet fundamentals.
- Finish your free crochet kindle case pattern in just an afternoon.
- Makes an thoughtful handmade gift for e-reader lovers everywhere.
- Customizable size works for any tablet or e-reader device.
Materials Needed
- Crochet hook: Size appropriate to your yarn weight choice.
- Yarn: Any weight in colors matching your style.
- Scissors: For cutting and finishing yarn ends.
- Yarn needle: For weaving in tails securely.
- Stitch markers: Optional but helpful for tracking rows.
- Fabric glue: Optional for easy crochet tablet sleeve tutorial lining.
- Button: Optional for closure strap decoration.
Pattern Notes & Abbreviations
- sc = single crochet
- ch = chain
- sl st = slip stitch
- st = stitch
This easy crochet tablet sleeve tutorial uses repeating rows of paired stitches for beautiful texture and beginner crochet kindle cozy pattern simplicity.
Looking for more inspiration? Check out our crochet book cover pattern is a great next project to try.
Gauge & Sizing
Gauge isn’t critical for this crochet device protector pattern since it’s sized by adjusting your foundation chain to fit your device. Maintaining consistent tension helps your fabric look neat and professional throughout. Adjust chain multiples of two to make your sleeve fit Kindle, tablet, or any e-reader perfectly.
The Crochet Kindle Sleeve for Beginners (So Easy and Free!) Pattern
Panel 1
Start with a slip knot.
Chain 36 (or whatever size you need – must be multiple of 2).
Place 2 single crochets in the 4th chain from the hook.
Skip 1 foundation chain and crochet 2 single crochets in the next foundation chain.
Repeat across the entire foundation chain.
Chain 2 and turn your work.
Skip the first stitch and place 2 single crochets in the second stitch.
Skip 1 single crochet and place 2 single crochets in the next stitch.
Repeat across the entire row.
Continue repeating this row until you reach the desired panel size.
Repeat the same steps to make the second panel.
Note: You can make one long panel and simply sew the sides together. That is a great option. I chose to make two separate panels so the stitch pattern would not appear upside down on the back.
Attach the Two Panels
Fasten off and weave in the yarn tails from Panel 1.
For Panel 2, do not cut the yarn.
Place Panel 2 on top of Panel 1.
Insert the hook through the edges of both panels and work single crochets evenly along one side, across the bottom, and up the opposite side to join them together.
Cut the yarn and weave in all remaining ends.
Optional Fabric Lining
Cut the fabric to fit the pouch.
Use fabric glue to seal the sides and the top edge.
Insert the lining into the crocheted cover.
Hand sew the lining securely in place.
Optional Crochet Strap and Button
Choose your button before making the strap.
Make a foundation chain to the desired strap length.
Starting in the second chain from the hook, work one single crochet in each chain across.
At the end of the row, make a chain long enough to fit around your button (mine was 10 chains).
Work one single crochet into the first stitch, then continue working single crochet back along the previous row to complete the strap.
Hand sew the strap to the cover and sew the button in place.
Tips & Troubleshooting
Yarn Swap
Don’t have the exact yarn? No problem! Any worsted-weight yarn works beautifully for this pattern. Try cotton blends for a stiffer sleeve, or soft acrylic for maximum comfort. Just adjust your hook size if needed to match your new yarn’s thickness.
Common Mistake to Avoid
The biggest beginner slip-up is pulling too tight on stitches. Loose, even tension creates a neater finish and prevents puckering. If your fabric looks bunched, relax your hands and let the yarn flow more freely through your fingers.
Finishing Like a Pro
Weave in ends by threading your yarn needle through stitches on the inside of the sleeve. Hide them completely for a polished look. Block gently with a damp cloth if your edges curl, then let dry flat overnight.
What to Make With This Pattern
Once you’ve mastered this cozy sleeve, the gift-giving possibilities are endless!
- Make a matching pair in different colors for the ultimate tech-loving gift duo.
- Create a set with a phone sleeve using the same yarn to keep everything coordinated.
- Whip up five in an afternoon and have holiday gifts ready for your whole reading-obsessed friend group.
Frequently Asked Questions
Is this pattern really beginner-friendly?
Absolutely! This pattern uses only single crochet and half-double crochet, the two most fundamental stitches. If you can hold a hook and pull yarn through a loop, you can complete this project successfully.
Once you finish this one, our small beginner crochet projects will be perfect for your next crochet session.
What if I don’t have worsted-weight yarn?
You can use any weight yarn, but you’ll need to adjust your hook size accordingly. Thicker yarn needs a larger hook; thinner yarn needs a smaller one. Always test your gauge on a small swatch first to ensure proper fit.
How long does this project actually take?
Most crocheters finish this sleeve in three to five hours, depending on your speed and experience level. A beginner might take a full afternoon, while experienced makers often complete it in one sitting with a cup of coffee.
Can I customize this for different Kindle models or gift it without measuring?
Absolutely! Simply measure your device’s width and height, then adjust the foundation chain length and row count accordingly. This pattern easily scales up or down, making it perfect for Kindles, tablets, or even small paperback books.
Save this free Crochet Kindle Sleeve Pattern to your Pinterest crochet board so you can find it anytime. Thousands of crocheters have already pinned it!
📌 Save to PinterestFinal Thoughts
You’ve got everything you need to create something truly special with just yarn and a hook. This pattern proves that beautiful, useful gifts don’t require complicated techniques – just heart and a little patience. Ready to start? Which color are you reaching for first?