Best Free Crochet Cat Paw Coaster Pattern
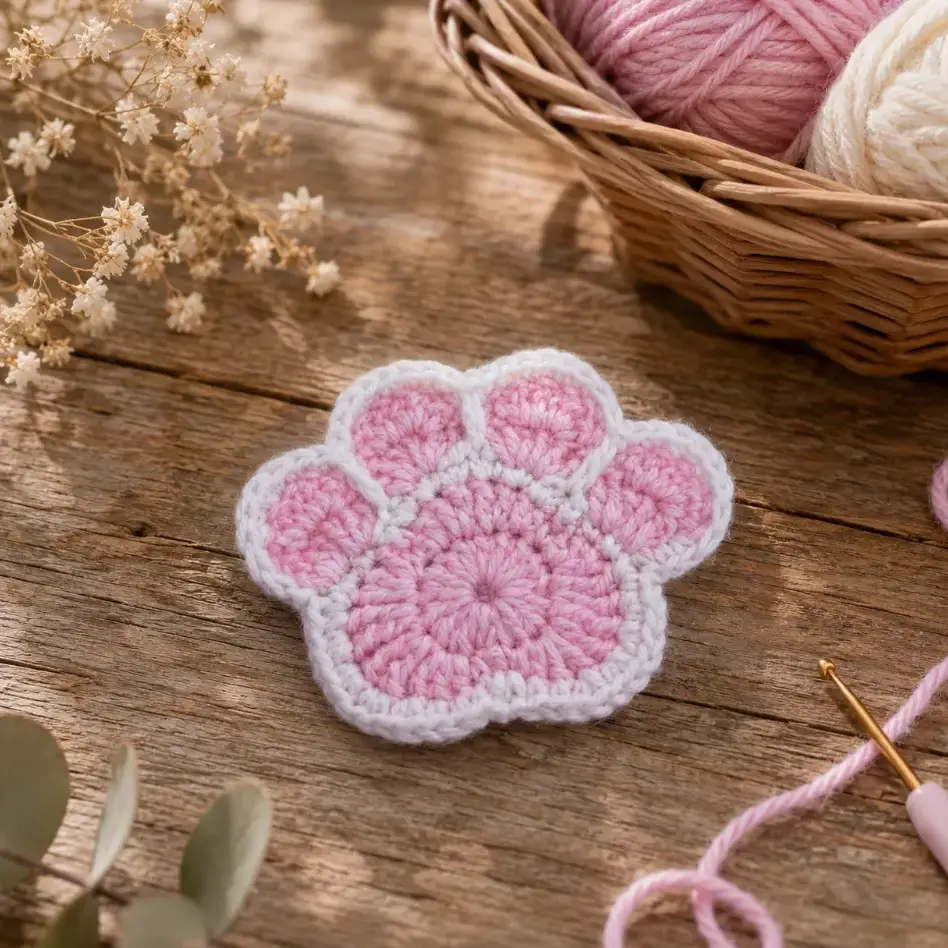
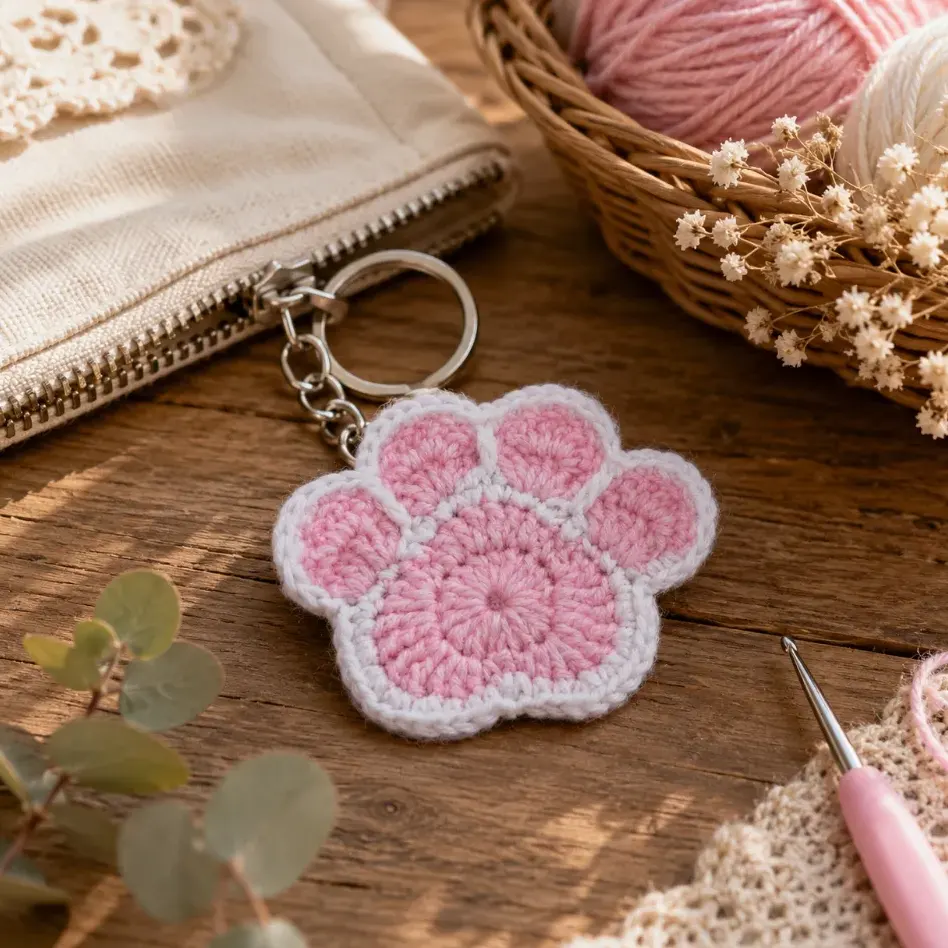
Learn how to crochet the adorable Crochet Cat Paw Coaster Pattern – a delightful project that brings whisker-worthy charm to any table. This beginner-friendly design combines a simple circular base with dimensional paw pads that make the perfect gift for cat lovers everywhere.
Quick Info
Why You’ll Love This Pattern
- No tricky stitches or complicated techniques required here.
- Finish one coaster in an afternoon of cozy crafting.
- Hand these adorable cat paw designs as thoughtful gifts.
- Completely free pattern with step-by-step beginner guidance included.
Materials Needed
- Crochet Hook: 5.5mm (Size I)
- Yarn: Worsted weight, approximately 100–120 yards
- Scissors: For cutting yarn cleanly
- Yarn Needle: For sewing pieces together and weaving ends
- Stitch Markers: Optional but helpful for tracking rounds
Pattern Notes & Abbreviations
- MR = Magic Ring
- ch = chain
- dc = double crochet
- sc = single crochet
- sl st = slip stitch
- inc = increase (2 stitches in one stitch)
- Fv = special stitch as written in pattern
This pattern uses a magic ring foundation and simple increases to create dimension. Keep tension even throughout for the best-looking coaster.
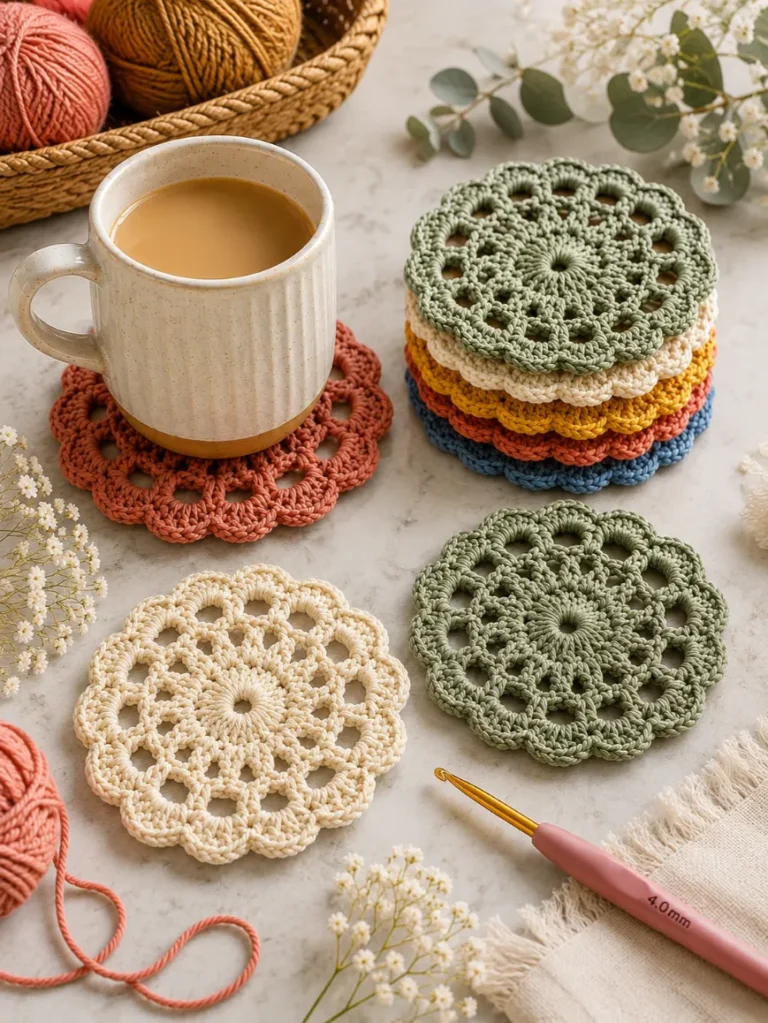
Looking for more inspiration? Check out our quick flower coaster pattern is a great next project to try.
Gauge & Sizing
Gauge is not critical for coasters, as sizing flexibility won’t affect function. However, consistent tension ensures your paw pads look even and polished. This pattern creates one standard coaster measuring approximately 4 inches across.
The Crochet Cat Paw Coaster: Perfect Beginner Project Pattern
Main Piece
R1:
MR, ch 3, 11 dc.
Beginner Explanation
• Make a Magic Ring (MR).
• Chain 3. This counts as your first double crochet.
• Work 11 double crochet (dc) into the Magic Ring.
• Pull the Magic Ring closed.
• Join with a slip stitch to the top of the beginning chain.
End of round: 12 dc
R2:
Ch 3, sl st, dc, 11 Fv.
Beginner Explanation
• Chain 3 to begin the new round.
• Slip stitch as written in the pattern.
• Make 1 double crochet.
• Now work 11 Fv stitches, one in each stitch around.
(Fv is kept exactly as written in the original pattern.)
After the last Fv, join with a slip stitch if your pattern normally joins rounds.
R3:
Ch 3, sl st, dc, 23 Fv.
Beginner Explanation
• Chain 3.
• Make the slip stitch exactly as written.
• Crochet 1 double crochet.
• Continue making 23 Fv stitches around the entire piece.
Keep your stitches evenly spaced.
R4:
Work 6 dc into the 3rd, 11th, and 19th stitches.
Beginner Explanation
This is the round that creates the three rounded paw pads.
1. Count stitches carefully.
2. Find the 3rd stitch.
3. Crochet 6 double crochet (dc) into that single stitch.
4. Continue crocheting until you reach the 11th stitch.
5. Crochet 6 dc into that stitch.
6. Continue to the 19th stitch.
7. Crochet 6 dc into that stitch.
These groups of 6 dc will naturally fan out and form the three rounded bumps.
R5:
sc, 5 inc, 4 sc, 5 inc, 4 sc, 5 inc, sc, sl st.
Beginner Explanation
Work exactly in this order:
• 1 single crochet (sc)
• Increase 5 times
o (Each increase = 2 sc in the same stitch.)
• 4 single crochet
• Increase 5 times
• 4 single crochet
• Increase 5 times
• 1 single crochet
• Finish with a slip stitch.
This round smooths the outside edge of the paw.
Large Paw Pad
R1:
6 sc in MR.
Beginner Explanation
• Make a Magic Ring.
• Crochet 6 single crochet into the ring.
• Pull the ring tight.
6 stitches
R2:
Inc around (12).
Beginner Explanation
Work 2 single crochet in every stitch around.
6 stitches become 12 stitches.
R3:
6 (sc, inc).
Beginner Explanation
Repeat the following sequence 6 times
• 1 single crochet
• 1 increase (2 sc in the next stitch)
At the end you’ll have 18 stitches.
R4:
6 (sc, inc, sc).
Beginner Explanation
Repeat the following sequence 6 times
• 1 single crochet
• 1 increase
• 1 single crochet
At the end you’ll have 24 stitches.
Fasten off, leaving a long tail for sewing.
Small Paw Pad
R1:
6 sc in MR.
Beginner Explanation
• Make a Magic Ring.
• Crochet 6 single crochet into the ring.
• Pull the ring closed.
R2:
Inc around (12).
Beginner Explanation
Work 2 single crochet into every stitch around.
You now have 12 stitches.
Fasten off, leaving a long tail for sewing.
🧵 Assembly (Beginner)
1. Place the large paw pad at the bottom center of the main piece.
This pairs beautifully with our adorable cat mug rug will be perfect for your next crochet session.
2. Sew it securely using the yarn tail.
3. Place the three small paw pads evenly across the top.
4. Sew each one in place with small whip stitches.
5. Weave in all yarn ends on the back.
Your cat paw coaster is now complete! 🐾
Tips & Troubleshooting
Yarn Swap
Don’t have worsted weight? Try sport or bulky yarn instead. Just remember that thinner yarn creates a delicate coaster, while thicker yarn makes it chunkier and faster to finish. Test your tension on a small swatch first to ensure the right drape and density.
Common Mistake to Avoid
Pulling your yarn too tight is the #1 beginner slip-up. Tight stitches are hard to work into and create stiff, curled coasters. Keep your tension relaxed and let the yarn flow naturally through your fingers for even, beautiful stitches.
Finishing Like a Pro
Weave in ends carefully along the edge stitches, not down the middle. Block your coaster by pinning it to shape on a towel and lightly steaming it. This smooths imperfections and gives a polished, professional look.
What to Make With This Pattern
Once you’ve mastered one paw, these coasters become instant crowd-pleasers.
- Make a set of four in different colors for the cat lover in your life.
- Gift them to a friend’s new apartment as a thoughtful, handmade housewarming present.
- Sell them at craft fairs or online – they’re quick to make and always in demand.
Frequently Asked Questions
Is this pattern really beginner-friendly?
Absolutely. This project uses only single crochet and chain stitches, the two most basic techniques in crochet. Even if you’ve never picked up a hook, you’ll understand the pattern within minutes of starting.
What yarn weight works best for cat paw coasters?
Worsted weight (medium #4) is ideal because it creates sturdy, absorbent coasters that hold up well to daily use. Acrylic yarn is practical and affordable, but wool or cotton blends add luxury and durability.
How long does it take to make one coaster?
Most crocheters finish a single coaster in 30 minutes to an hour, depending on experience and pace. The finished coaster is roughly 4 inches square, making it the perfect size for standard mugs and water glasses.
Can I customize this pattern for gifts or other sizes?
Yes, you can easily adjust the base square by adding or subtracting rows to make larger coasters or small placemats. Change yarn colors for different cat breeds, or add initials with a needle and embroidery thread for a personalized touch.
Save this free Crochet Cat Paw Coaster Pattern to your Pinterest crochet board so you can find it anytime. Thousands of crocheters have already pinned it!
📌 Save to PinterestFinal Thoughts
You’ve got this. Crochet is wonderfully forgiving, and every stitch – perfect or not – becomes part of your handmade charm. Start your first paw coaster today and celebrate the magic of making something real with your own two hands. What color cat paw will you create first?
Disclaimers:
Please note that colors may look different on your monitor than the actual color of the product. This item is handmade, so small variations in size may occur