Mini Butterfly Crochet Pattern Ready in Under 30 Min
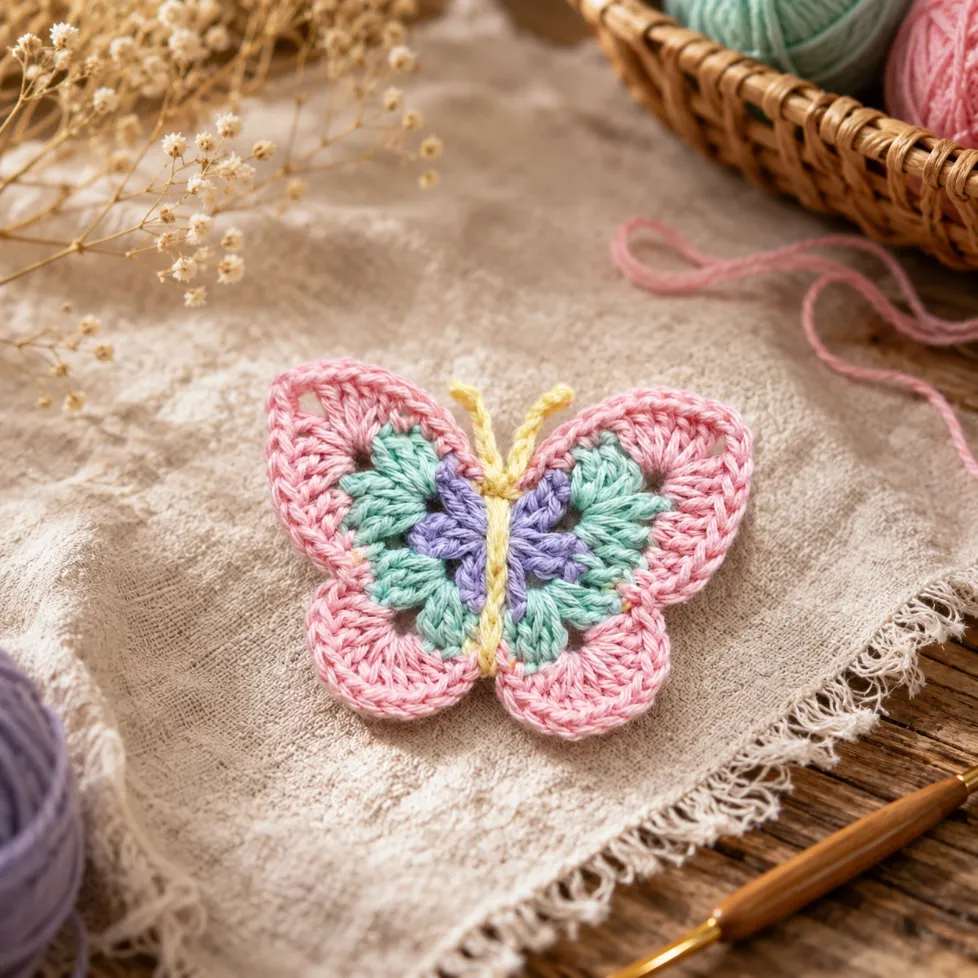
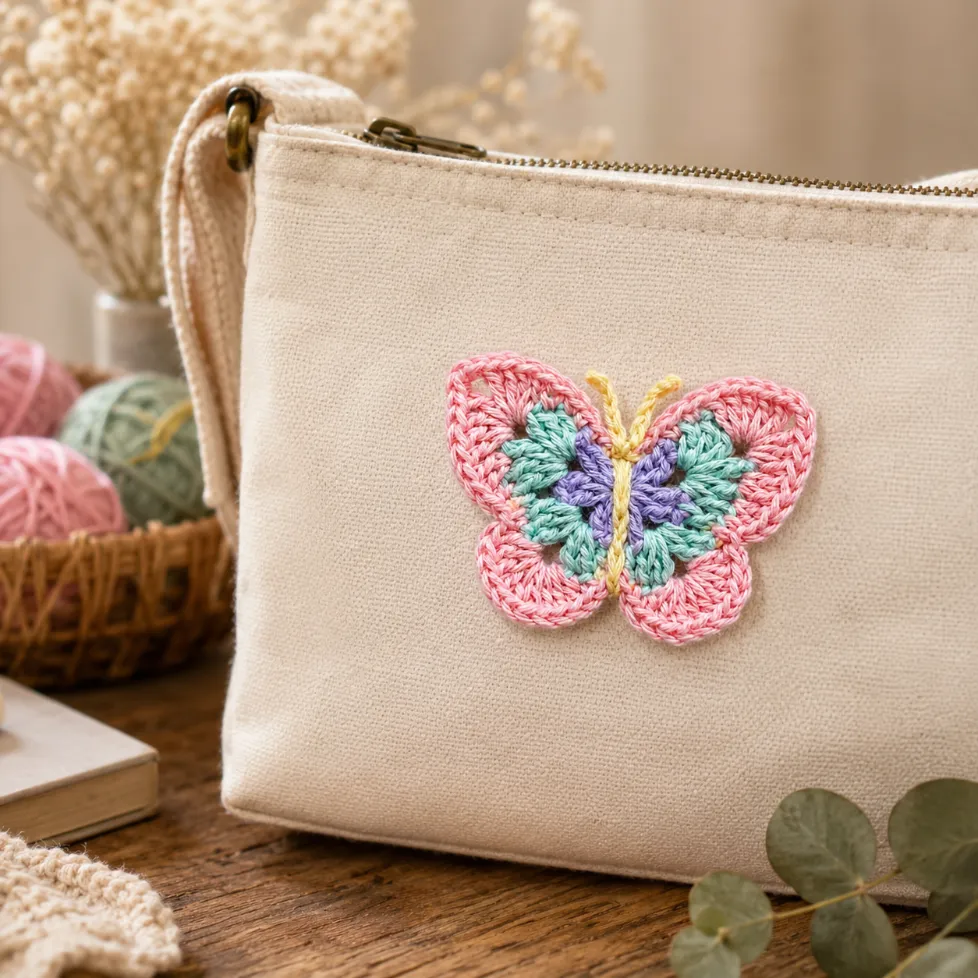
If you’re hunting for a mini butterfly crochet pattern that delivers real magic in under 30 minutes, this tiny butterfly crochet tutorial is your answer. With just a few colorful yarn scraps and basic stitches, you’ll create an adorable appliqué that’s perfect for beginners and seasoned crocheters alike.
Quick Info
Why You’ll Love This Pattern
- Beginner-friendly stitches and straightforward construction throughout.
- Quick to make – finish in an afternoon with ease.
- Perfect tiny gift or handmade embellishment for projects.
- Free pattern works for dozens of creative applications.
Materials Needed
- 2.0 mm crochet hook
- 4-ply cotton yarn
- Light Purple
- Mint Green
- Pastel Pink
- Pale Yellow
- Yarn needle
- Scissors
Pattern Notes & Abbreviations
- MR = Magic Ring
- ch = chain
- tr = treble
- dc = double crochet
- hdc = half double crochet
- sc = single crochet
- sl st = slip stitch
Magic Ring is optional – use a traditional chain loop if preferred for easier tension control.
Want to keep crocheting? Our small crochet flower tutorial is a great next project to try.
Gauge & Sizing
Gauge isn’t critical for this small appliqué, but consistent tension produces neat, even stitches.
Tight tension creates a more compact butterfly; looser tension yields a softer, airier result.
Finished size ranges approximately 2½–3 inches wide and 2–2½ inches tall.
The Mini Butterfly Ready in Under 30 Min Pattern
Round: 1 – Purple Inner Wings
Using purple yarn.
Make a Magic Ring.
Ch 3 (counts as first tr).
Work into the MR:
2 tr
2 dc
ch 1
2 dc
3 tr
Repeat once more to create the opposite wing.
Join with a sl st.
Tighten the Magic Ring.
Fasten off.
Round: 2 – Mint Green Layer
Join mint yarn in the ch-1 space.
Upper Wing
Ch 2.
Work:
2 hdc
3 dc
2 hdc
Lower Wing
Work:
2 hdc
2 dc
2 hdc
Repeat on the opposite side.
Join with a sl st.
Fasten off.
Round: 3 – Pink Border
Join pink yarn at the top of one upper wing.
Upper Wing
Ch 3.
2 dc
ch 2
3 dc
Work 7 dc evenly around the outer edge.
Lower Wing
Work:
2 dc
2 hdc
2 dc
Repeat the same sequence for the opposite side.
Join with a sl st.
Fasten off.
Body
Using pale yellow yarn.
Join at the top center.
Work:
6 sc down the center of the butterfly.
Antennae
Ch 7.
Starting in the second chain from the hook:
6 sl st.
Repeat for the second antenna.
Fasten off.
Weave in all yarn tails.
Finished Size
Approximately:
Width: 2½–3 inches (6.5–7.5 cm)
Height: 2–2½ inches (5–6 cm)
Ideas for Use
Hair clips
Baby blankets
Sweaters
Tote bags
Bookmarks
Garland
Keychains
Greeting cards
Scrapbooking
Nursery décor
Tips & Troubleshooting
Yarn Swap
Don’t feel locked into worsted weight yarn. Thinner yarn creates delicate, dainty butterflies perfect for appliqués, while bulkier yarn produces chunkier versions ideal for keychains. Simply adjust your hook size to match your yarn weight, and you’ll nail the tension every time.
Common Mistake to Avoid
Pulling too tightly on your yarn while crocheting wings is the #1 culprit for puckering and misshapen butterflies. Keep tension relaxed and consistent, especially during chain stitches and single crochets. A looser tension creates smoother, more polished wings.
Finishing Like a Pro
Weave in ends immediately after fastening off – don’t leave them dangling. Use a tapestry needle and thread tails back through several stitches for security. A light steam press with an iron on low heat can gently shape wings and give your butterfly a professional, finished look.
This pairs beautifully with our quick beginner crochet projects will be perfect for your next crochet session.
What to Make With This Pattern
These tiny butterflies are so quick and charming, you’ll want to make them by the dozen for gifts and decorations.
- Attach a safety pin to the back and gift as a cute plant pot marker or garden stake for a gardening enthusiast.
- Sew several onto a headband or hair clip for a whimsical accessory that celebrates nature.
- String them together with embroidery floss as a lightweight garland perfect for nurseries or bedroom décor.
Frequently Asked Question
Is this pattern good for beginners?
Absolutely. This pattern uses only basic stitches chain, single crochet, and slip stitch making it perfect for anyone learning the fundamentals. If you can chain and single crochet, you have everything needed to complete a butterfly successfully.
What yarn and hook size should I use?
Worsted weight yarn (category 4) paired with a 5.5mm (I/9) hook works beautifully and finishes in under 30 minutes. Acrylic is budget-friendly and holds its shape well, but cotton or cotton blends create wonderfully drape-y, lifelike wings.
How long does this actually take, and can I make larger butterflies?
The pattern is designed to complete in 20–30 minutes using recommended yarn and hook sizes. To make larger butterflies, use thicker yarn and a bigger hook, which will add 10–15 minutes but scale up all dimensions proportionally.
Can I modify the pattern for gifts or special occasions?
Yes, try adding beads to wing centers, experimenting with variegated yarn for rainbow effects, or embroidering tiny details with embroidery thread. These butterflies adapt beautifully to any occasion and skill level, making them endlessly customizable.
Save this free Mini Butterfly Crochet Pattern to your Pinterest crochet board so you can find it anytime. Thousands of crocheters have already pinned it!
📌 Save to PinterestFinal Thoughts
You’ve got this – crocheting a butterfly in under 30 minutes is entirely within your reach. Whether you